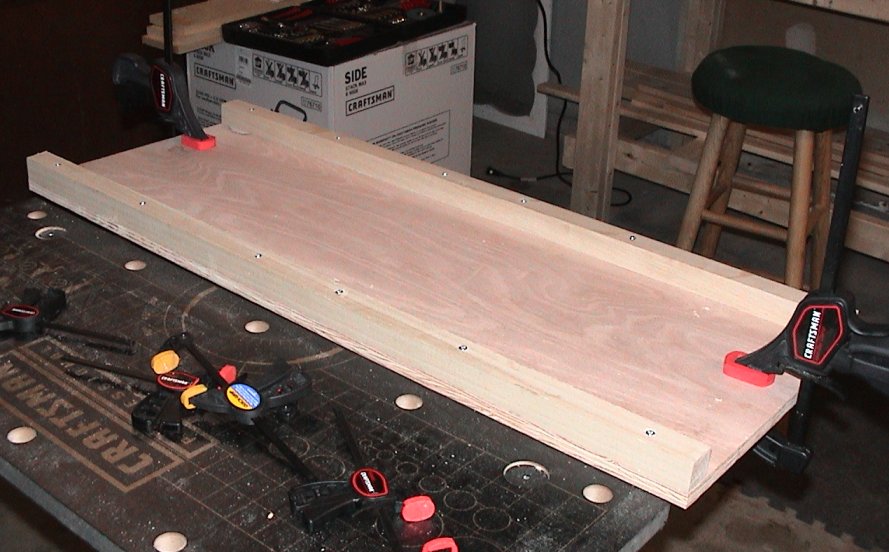
Just starting the project; what I'm calling the 'lower hull' is that part
of the hull on either side of the treads.
(Editor's Note: Craftsman is not a paid
sponsor of R/C Tank Combat, although they should be. How many times
can you count 'Craftsman' in the enlargement?)
The following three photos show the different stages for putting together the different
lower hull pieces.
Click Photo For Enlargement (77 Kb)
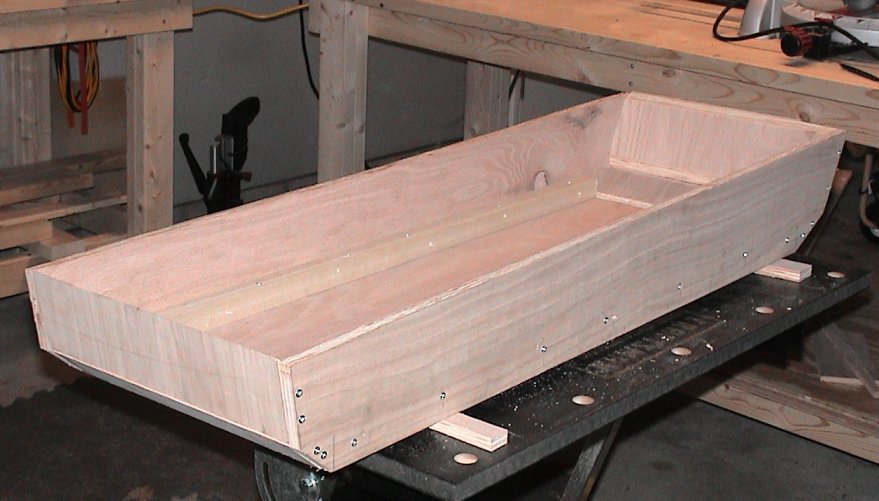
The fore and aft pieces are beveled at 45 degrees on the top and
bottom edges, so that they would fit together with no hassle.
The gaps will be filled in with epoxy putty later.
The upper hull will eventually bolt onto the lower.
Click Photo For Enlargement (50 Kb)
Click Photo For Enlargement (62 Kb)
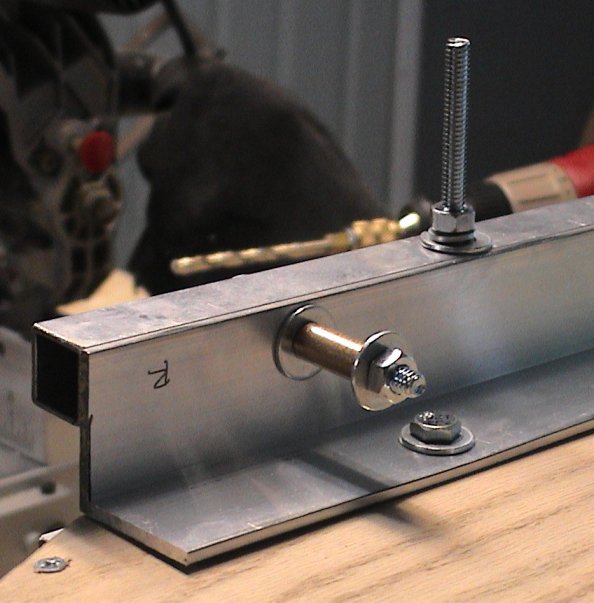
My initial wheel assembly was based on the T001 wheel assembly, using the photos
from this website. It consists of a piece of square aluminium which is bolted
to the lower hull and cross-bolted with the wheel axles.
Here, the simple construction technique is evident.
Click Photo For Enlargement (61 Kb)
Click Photo For Enlargement (46 Kb)
I was unhappy with version 1 of the wheel assembly, because I thought when
the extra weight of the finished tank and internals was eventually added,
the entire thing might be too heavy for it ... so I dreamed up version 2.
As you can see from the photo, an angle bracket and another square channel
is used to support each axle closer to the wheels. It's probably over-engineered,
but I like it much better.
Editor's Note: Tank components can never be over-engineered!!!
Click Photo For Enlargement (56 Kb)
Click Photo For Enlargement (97 Kb)
The wheels are attached to the version 2 assembly.